How to Make a GIF on Any Device: Here are Your Best Options
Step-by-step instructions and tips
From adding a touch of humor to your daily text messages to expressing your emotions, GIFs have become the universal language of the Internet age. Chances are, you’ve seen your fair share of GIFs online, and now you’re wondering how to make a GIF on iPhone, Android, Mac, or Windows yourself.
In this article, we will uncover everything you need to know: what exactly a GIF is, how do you make a GIF, how to create one in Photoshop, how to create a GIF out of your favorite YouTube video, how to perfect and optimize them, and finally, how you can create your own with Unboring.
What is a GIF?
Before we dive into the ins and outs of going ahead and making a GIF, let’s quickly discuss what a GIF actually is. GIF stands for Graphics Interchange Format, and it is a file format known for its ability to display short animations in a loop. Unlike static images, GIFs add a dynamic dimension to online conversations, making them a great option for sharing emotions, reactions, and, in most cases, humor. When used strategically, they even have their place in professional workplace presentations.

How to Create a GIF from a YouTube Video
Occasionally, you may stumble upon the perfect GIF moment while watching a YouTube video. Capturing these moments and converting them into GIFs is made easy with the help of platforms like Giphy. Here's a quick step-by-step guide to creating perfect GIFs from YouTube videos:
1. Have Your Video Ready: To start, choose the YouTube video that contains the specific moment you want to turn into a GIF. Have that clip ready on hand.
2. Open Giphy: Next, go to the Giphy website, a platform famous for GIF creation and sharing.
3. Paste the YouTube link: Once you’re on the Giphy website, find and click on the "Create" button. This will take you to the GIF creation interface. Giphy makes the process of importing your chosen video very simple. All you have to do is paste the URL of your YouTube video into the designated field on Giphy's Create page.
4. Select Your Clip: Giphy provides easy-to-use tools for precise clip selection. Trim and select the specific segment of the video that you want to make into a GIF.
6. Generate the GIF: Once you’re happy with your clip selection and any optional customizations, start the GIF creation process by clicking the "Create GIF" button.
7. Download Your GIF: After a short processing time, Giphy will provide you with a downloadable link to your newly created GIF. Simply click "Download," and your GIF will be ready to use however your heart desires.
How to Make a GIF in Photoshop
Everyone’s heard of Photoshop. And at first glance, when you open it, it seems complex and difficult to use. But here is a simple-to-follow guide on how to use Photoshop for GIF creation:
1. Create a New Document: Start by opening Adobe Photoshop on your device. Go to "File" and click "New" to create a new document. Here, you can select the dimensions and resolution for your GIF project. When figuring out these settings, consider your intended platform and audience. Not all dimensions will work for all platforms!
2. Import Frames: Import the images or video frames you intend to use for your GIF as individual layers. To do this, navigate to "File," then "Scripts," and choose "Load Files into Stack." This will load your selected images as separate layers within the document.
3. Arrange Your Layers: Following on from the previous step, arrange these layers in the order that corresponds with the desired sequence of frames in your GIF. Remember that the layer at the bottom will be the first frame, while the layer at the top will be the last.
4. Set the Timing: To control the timing of your GIF frames, open the Timeline panel by going to "Window" and clicking "Timeline." Here, you can specify the duration for each frame, determining how long it remains visible before transitioning to the next frame.
5. Export as GIF: This step is crucial. Once you’re satisfied with your frames and timing, it's time to export your creation as a GIF. Go to "File," then "Export," and click "Save for Web (Legacy)." Within this export window, make sure that the file format is set to GIF, and make any necessary adjustments to optimize the GIF's quality and file size.
6. Save Your GIF: Once you've fine-tuned the settings and are ready to proceed, click the "Save" button to specify the file name and location for your GIF. Your customized GIF is now ready for use and sharing! As before, share it with whomever and wherever you like.
As we can see, creating a GIF in Photoshop is pretty easy, and it’s especially useful for those looking for advanced customization and creative expression. But there is one more way to create GIFs and a much easier one at that, and we will get to that shortly.
How to Make an Animated Video with Unboring
We promised earlier to tell you the easiest way to create a GIF, but here's something even better—how to make your own GIF-like animated videos with Unboring.
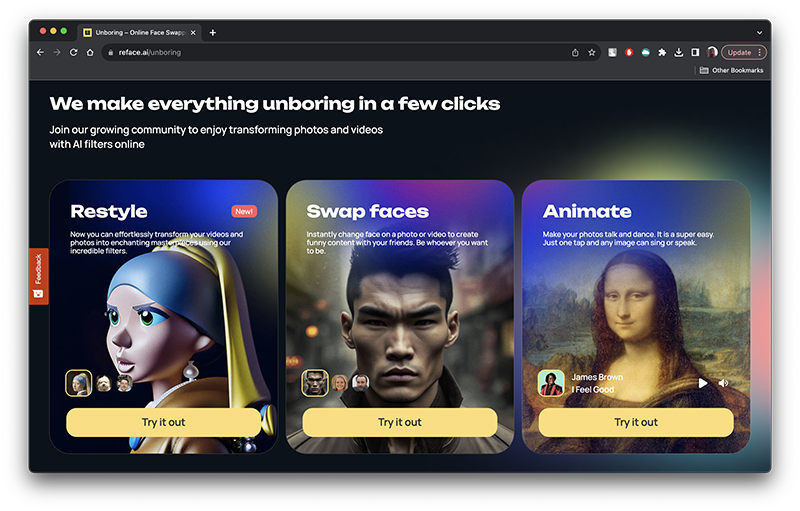
Unboring by Reface offers a fun and easy platform for creating animated content for everyone, regardless of technical skill level. Unboring is a fantastic choice for anyone looking to transform still images or even old videos into short, looping animations. Essentially, GIFs, just without the .gif format, but you can easily convert the received video from MP4 format to GIF.
Unboring works on any device—iPhone, Android, Mac, or Windows – so all you need is an internet connection and a little creativity!
There are two ways in which you can create ‘GIFs’ using Unboring. Method #1 is restyling your videos, and method #2 is animating your photos. Since both methods are done in almost the same way, we will combine the two in this step-by-step guide:
1. Open Unboring: To start, you’ll want to go to the Unboring platform. For video restyling, click here. For photo animation, click here.
2. Upload Your Media: Once you've selected the appropriate tool, click the "Upload video" or "Upload content" button on the left side of the screen to start the media upload process. You can upload a static image or video clip, depending on your chosen tool.
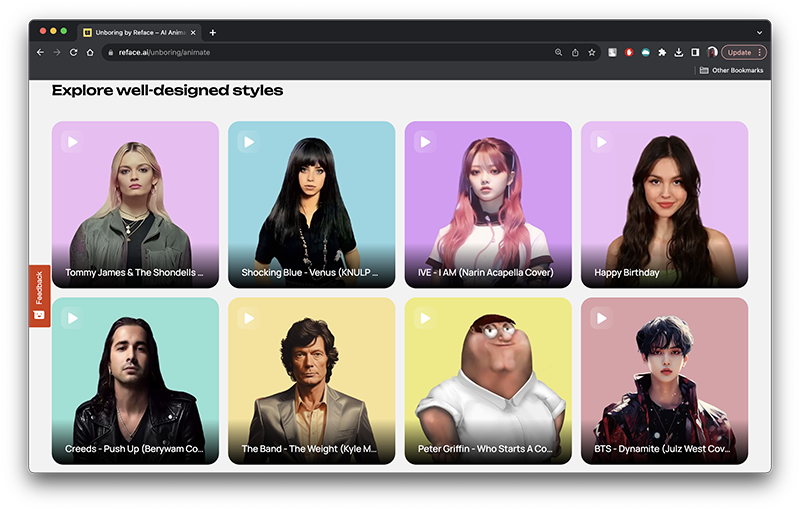
3. Personalize Your Animation: Unboring provides an intuitive and user-friendly interface that allows you to easily customize your animation. Explore the large catalog of motions and pick your favorite one.
4. Preview and Perfect: Once you’re happy with your choice, take advantage of Unboring's preview feature. This allows you to review your creation and make any necessary adjustments to ensure it aligns with your vision before downloading.
5. Download Your Animation: Once you're happy with your animated masterpiece, click the "Download" button to save your creation. You'll now have a animated video in MP4 format ready to share with your friends, family, and followers.
6. Convert Video into GIF: You can use any available web service for this, for example ezgif.com.
We told you this is the easiest way! Now you know how to make high-quality GIFs the simple way. Unboring is extremely user-friendly and provides a smooth animation experience for a variety of purposes, whether it’s creating GIFs out of videos or bringing new life to your photos.
How to Optimize GIF's Size and Quality
Optimizing your GIFs is extremely important to ensure that they load quickly, display smoothly, and are of high quality, especially when making a GIF for social media.

Here are some of our best tips for making the most of your GIFs while keeping their file size minimal:
- Reduce Dimensions: Consider reducing the dimensions of your GIF. Smaller dimensions equal to smaller file sizes. Consider the platform or screen where your GIF will be displayed and adjust the dimensions accordingly.
- Limit Colors: To reduce file size, limit the number of colors shown in your GIF. Try to use a more limited color palette, prioritizing essential colors to maintain visual clarity while keeping the file size small.
- Enhance Frame Rate: Adjusting the frame rate can significantly impact file size. Experiment with frame rates to find a balance between smooth animation and a manageable file size. For many GIFs, 15 to 20 frames per second (FPS) is often sufficient.
- Crop and Trim: This one is quite obvious. Eliminate any unnecessary parts of your animation in order to reduce the file size. Focus on the main content that delivers your intended message or emotion.
- Compress Wisely: When saving your GIF, explore different compression settings to find the right balance between maintaining image quality and minimizing file size.
Optimizing your GIFs ensures that they maintain their visual appeal while being efficient in terms of loading times and storage.
So whether you’re looking to extract memorable moments from YouTube videos, fine-tune GIFs with Photoshop, or create animated videos with Unboring, the possibilities are endless. Unleash your creativity and make your content Unboring today!