Master Face Swapping: Learn How to Do a Face Swap in Photoshop
Explore the step-by-step process
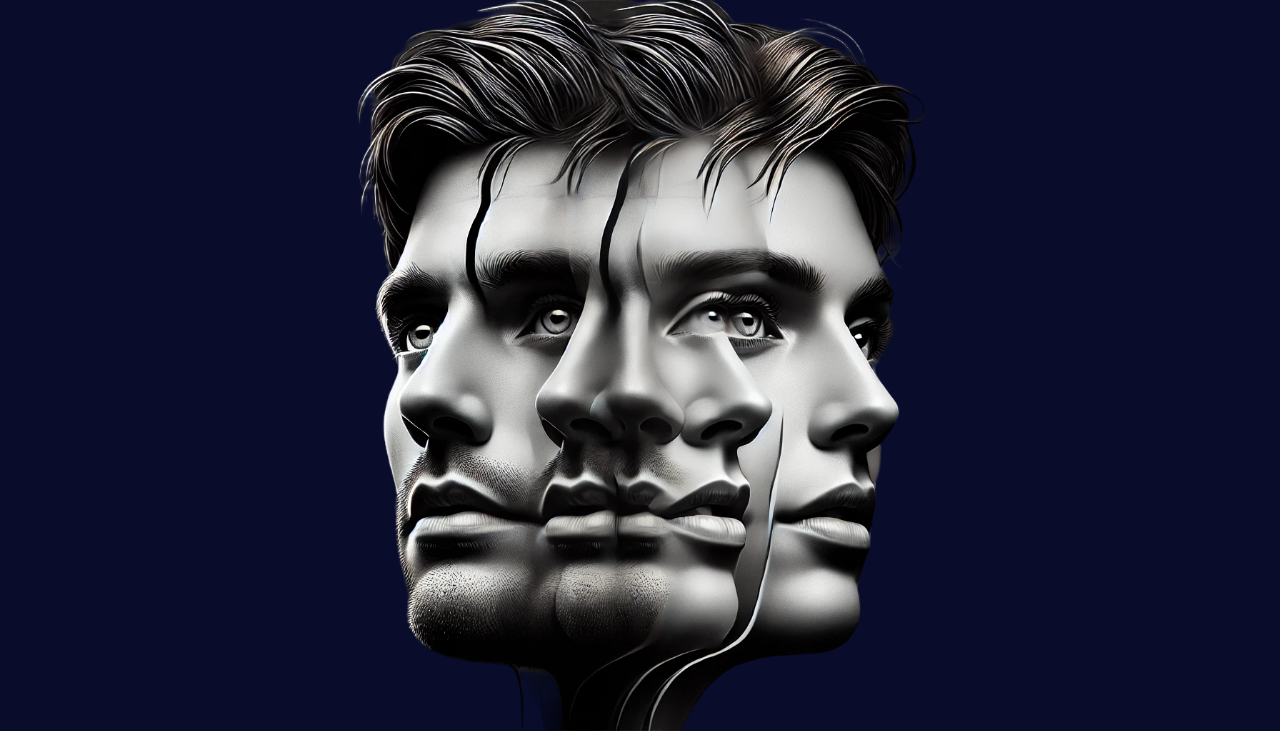
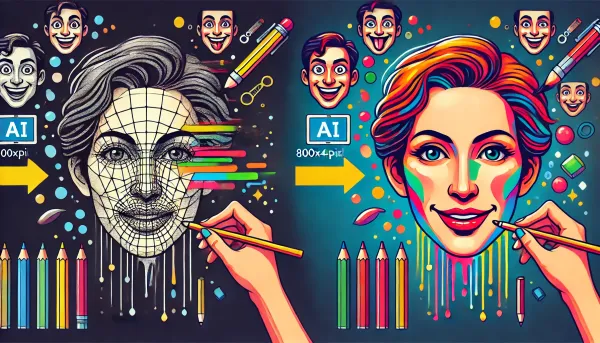
Face swapping has become viral for a reason, grabbing users with its ability to transform ordinary photos into entertaining and extraordinary ones. From playful social media posts to elaborate digital art projects, face-swapping has found its place in the cultural landscape. While many apps and online tools offer quick and easy face swaps, those looking for greater control and customization often turn to Photoshop.
Learning how to do a face swap in Photoshop can be challenging, but with this guide, you'll gain the skills to create stunning results. While powerful, Photoshop requires patience and practice. Let's dive in and explore the step-by-step process.
How to face swap in one click
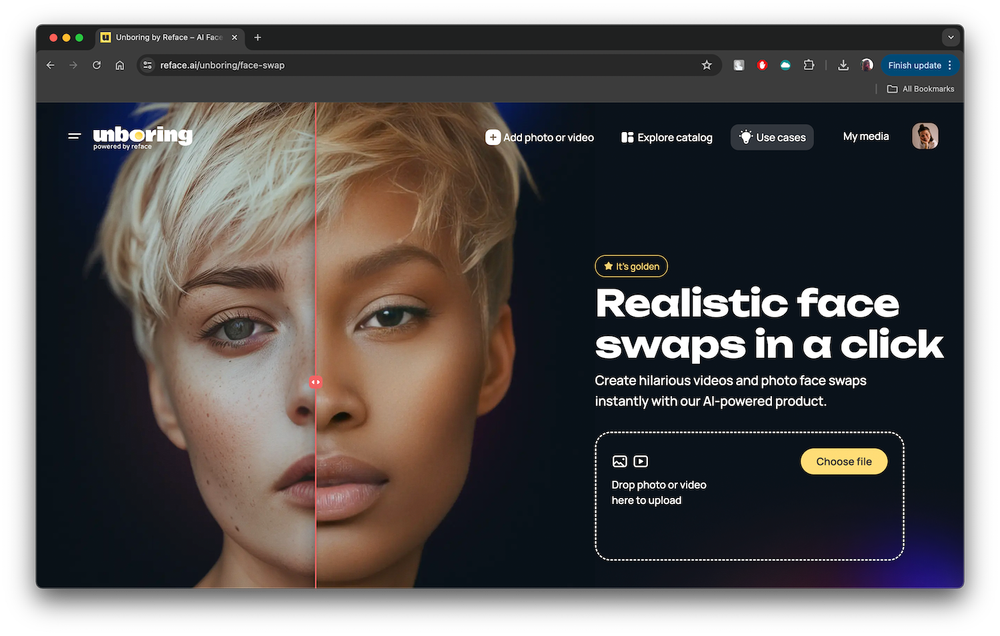
Before we dive into the ins and outs of Photoshop, let's talk about a much simpler solution: Unboring by Reface. This AI-powered platform makes face-swapping incredibly fun and easy. With Unboring, you can create amazing face swaps in just a few clicks! All you have to do is upload your photos, choose your desired swap, and let AI do the rest. No need for complicated Photoshop techniques or hours spent on editing. If you want detailed instructions on how to face-swap with Unboring, check out this blog post.
While Unboring offers a quick and efficient way to face swap, some people enjoy the challenge of doing it themselves. If you're one of those people, let's explore how to face swap in Photoshop.
How to face swap in Photoshop
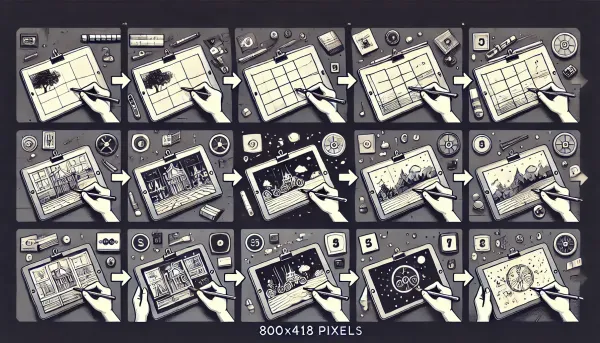
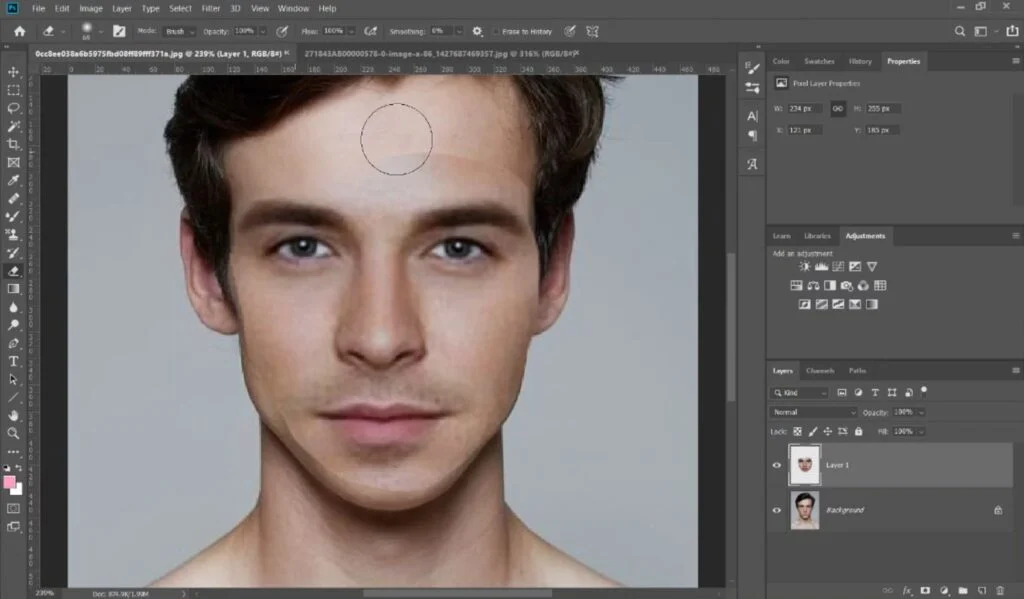
Doing a face swap in Photoshop requires precision, patience, and a solid understanding of the software. While traditional methods demand meticulous attention to detail, the integration of AI is revolutionizing the process. This guide will walk you through the essential steps to achieve a flawless Photoshop AI face swap.
1. Image Selection
Start by selecting two high-quality images. The first image will serve as the base for the face swap, while the second image will provide the replacement face. For best results, make sure the images have good lighting and clear facial features.
2. Open Images in Photoshop
Open both images in Photoshop. To preserve the original, duplicate the base image layer, which allows for non-destructive editing.
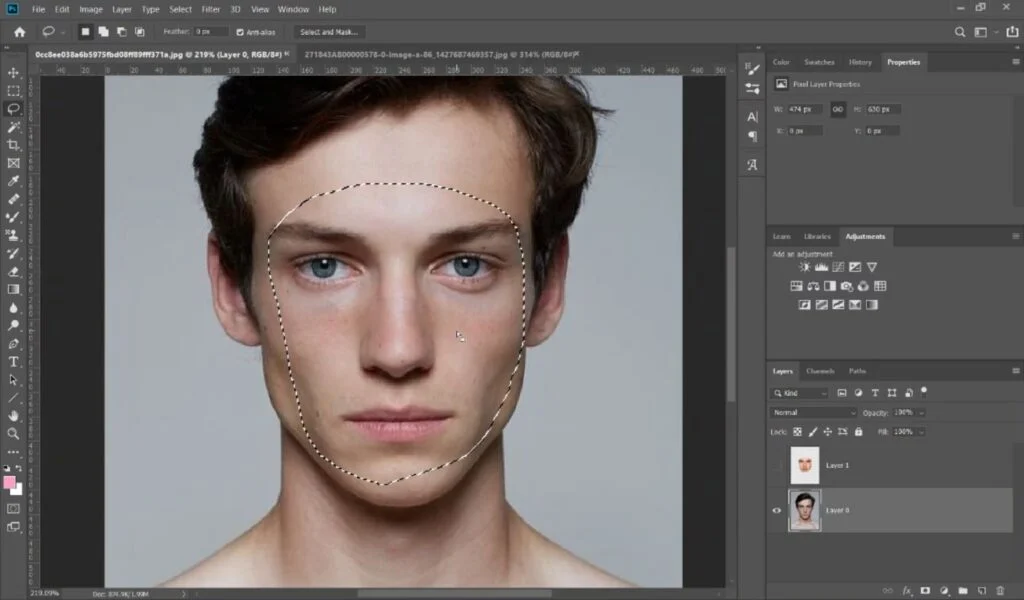
3. Precise Face Selection
Use the Pen Tool or Lasso Tool to carefully outline the face you want to replace. Take your time to accurately capture the facial features, including the hairline, chin, and ears. Pay close attention to details like eyebrows, eyelashes, and the shape of the face.
4. Refine Selection Edges
To create a smooth transition, carefully refine the edges of your selection using the Refine Edge tool. To optimize the edge quality, experiment with different settings. Once again, pay close attention to areas like the hairline, jawline, and the edges of the face where it meets the background.
5. Copy and Paste the Face
Copy the selected face from the replacement image and paste it onto the base image as a new layer.
6. Transform and Align
Use the Free Transform tool (Ctrl+T or Command+T) to resize and reposition the swapped face to match the perspective and proportions of the original face. Accurately align the eyes, nose, mouth, and other facial features. Pay attention to the angle of the head and the tilt of the face.
7. Create a Mask for Blending
Add a layer mask to the swapped face layer. This enables gradual blending without permanently altering the image.
8. Mask Out Unwanted Areas
Use a soft-edged brush to paint black on the mask, revealing the original face where necessary. Gradually build up the mask to achieve a seamless transition. Pay attention to the hairline, neck, and any areas where the two faces overlap.
9. Refine Mask Edges
Use a smaller brush to perfect the mask edges, paying close attention to details like the hairline, jawline, and the intersection of the faces.
10. Color Correction
If there are noticeable color discrepancies between the faces, use adjustment layers like Color Balance, Hue/Saturation, or Curves to harmonize the colors. Pay attention to skin tones, eye color, and overall color balance.
11. Clone Stamp Refinements
For finer details, use the Clone Stamp Tool to blend the swapped face with the background. Exercise caution to avoid an artificial appearance. Focus on the areas where the two faces meet.
12. Enhance with Dodge and Burn
Use the Dodge and Burn tools to add highlights and shadows to the face's features, enhancing it subtly to create a more realistic and three-dimensional effect. Pay attention to the lighting in the original image and replicate the shadows and highlights accordingly.
13. Sharpening for Clarity
Apply a slight amount of sharpening to the swapped face to improve definition and overall image quality. Be careful not to overdo it, as excessive sharpening can lead to a grainy appearance.
14. Final Adjustments and Evaluation
Take a little break and a step back to assess the overall result. Make any necessary adjustments to perfect the face swap. Pay attention to the overall composition of the image and make sure the swapped face looks natural and integrated.
Our Top Tips:
- Use high-resolution images for optimal results.
- Experiment with different blending modes for the mask layer.
- Consider using multiple layers for complex face swaps.
- Patience is key! Face swapping in Photoshop is a long and meticulous process.
- Reference real-life examples of face swaps for inspiration.
To sum up, while Photoshop offers creative control, it's important to remember that achieving a truly convincing Photoshop face swap requires skill and practice.
For a simpler and faster solution, consider using AI-powered tools like Unboring by Reface.
Face swapping can be a fun and creative way to entertain your friends or add a unique touch to your social media posts. Whether you're looking to learn how to swap a face in Photoshop or explore the convenience of a dedicated face-swapping tool like Unboring, the choice is yours, and the possibilities are exciting.
By following these steps and paying attention to the little details, you can create impressive face swaps that will amaze your friends and followers.