Turn Live Photos into Lasting Memories: Easy Ways to Convert Live Photos to Videos
Create dynamic visual stories in just a few simple steps.
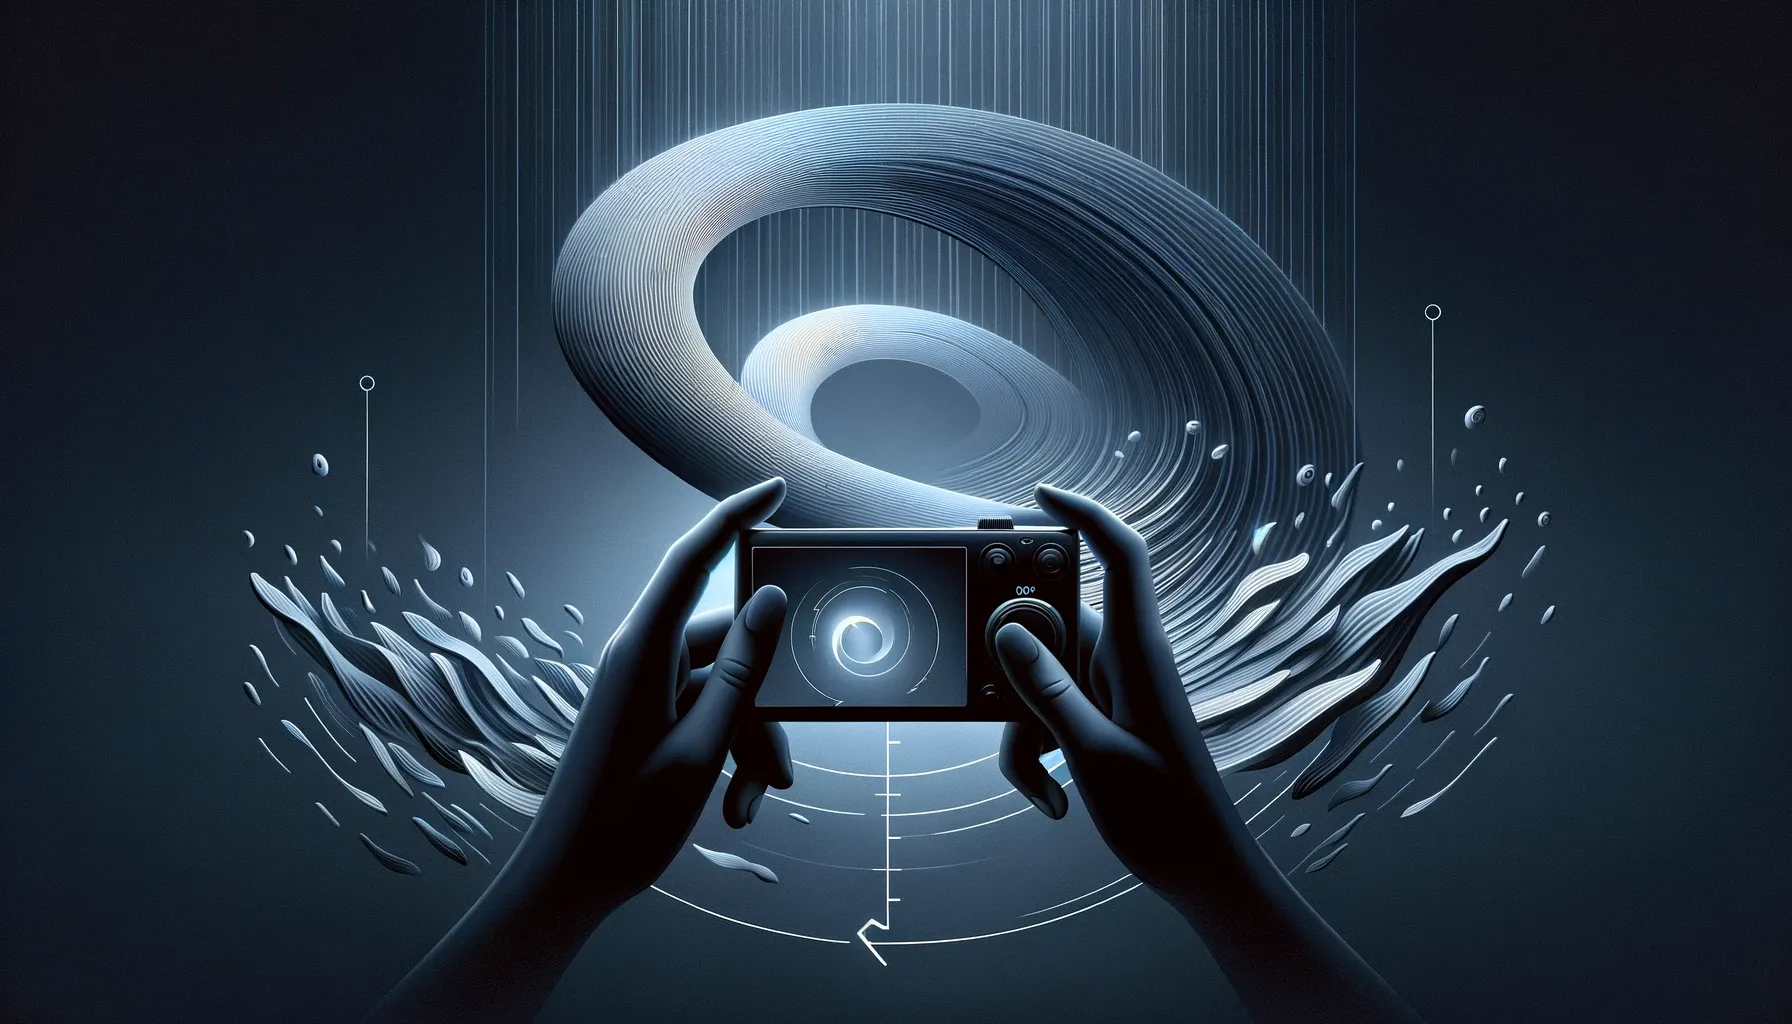
You're at the beach, camera poised, ready to take a picture of a gorgeous wave crashing against the rocks. But the wave is unpredictable, and by the time you press the shutter, it's already gone. With a live photo, you get a second chance. It captures the action before, during, and after you press the button, ensuring you capture the wave's full beauty.
Can you turn a live photo into a video?
So, can you turn a live photo into a video? Absolutely! At first, you might think, “But live photos are only accessible to Apple users.”. While this is technically true, there are ways to turn any photos into videos, making them accessible to more people, and this article will explore both options. Continue reading!
How to turn a live photo into a video?
While live photos are great, let's be honest; even the most captivating live photos are limited. But what if you could turn any photo, not just a live photo, into a video brimming with personality? That's the beauty of using a tool like Unboring by Reface.
Here's how to convert live photos to video with our innovative tool:
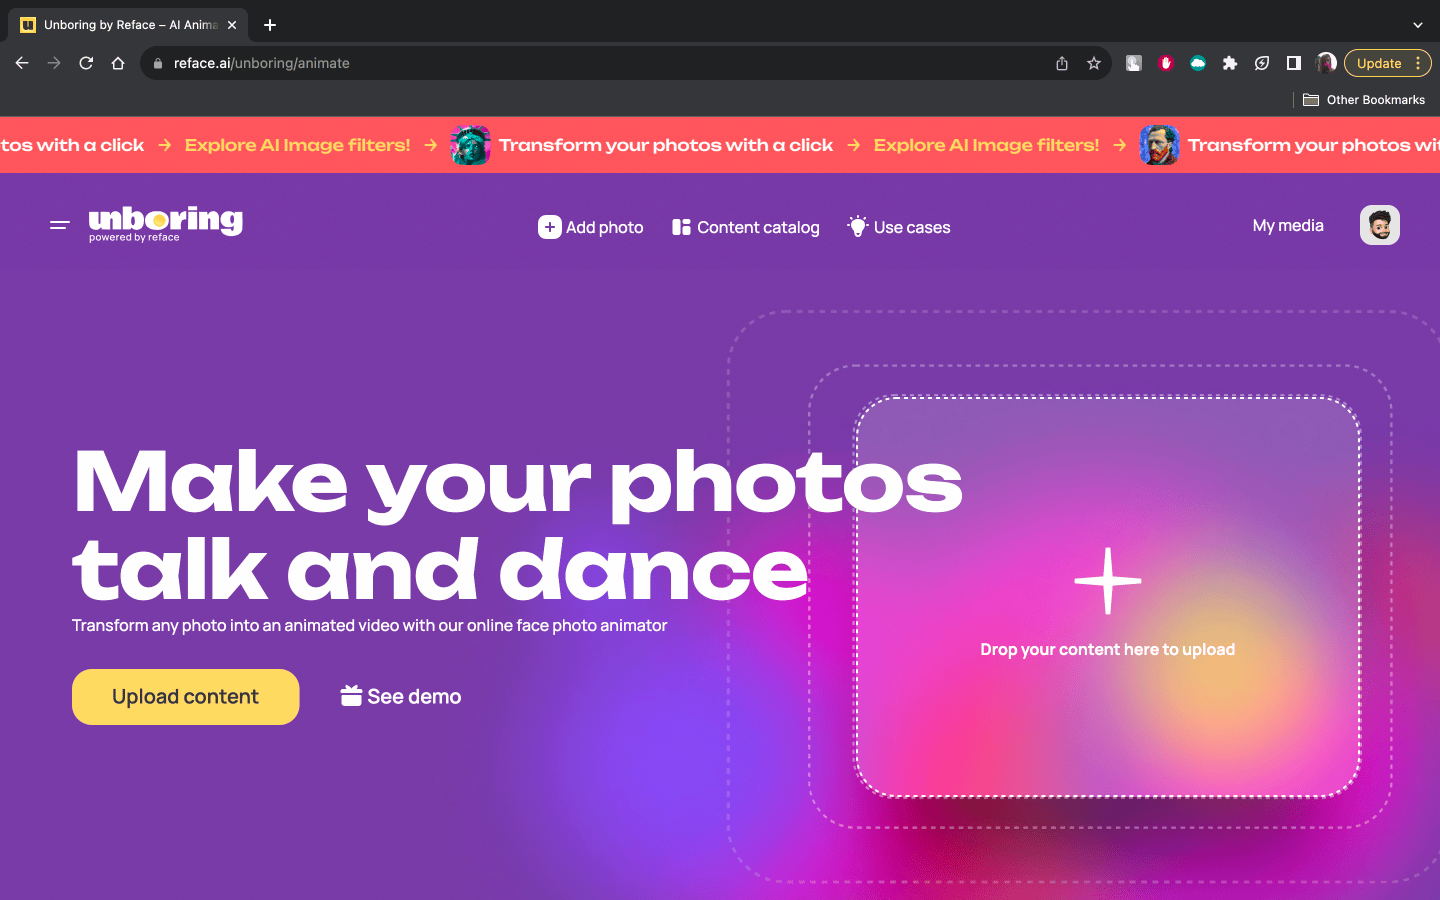
1. Start by heading over to the Unboring website. The platform offers a user-friendly interface that makes transforming photos into videos super easy, even for tech newbies.
2. Pick your perfect photo:
Whether it's a live photo or a still image, Unboring has options for both. Unboring accepts various image formats, so your creative options are wide open.
3. Explore styles:
Once you’ve what photo you want to revive, head over to the motions catalog. Unboring offers a large selection of animation, from classic song to famous phrases. Hover over your favorite one until the yellow ‘Use animation’ button pops up, and then click on it and upload your photo.
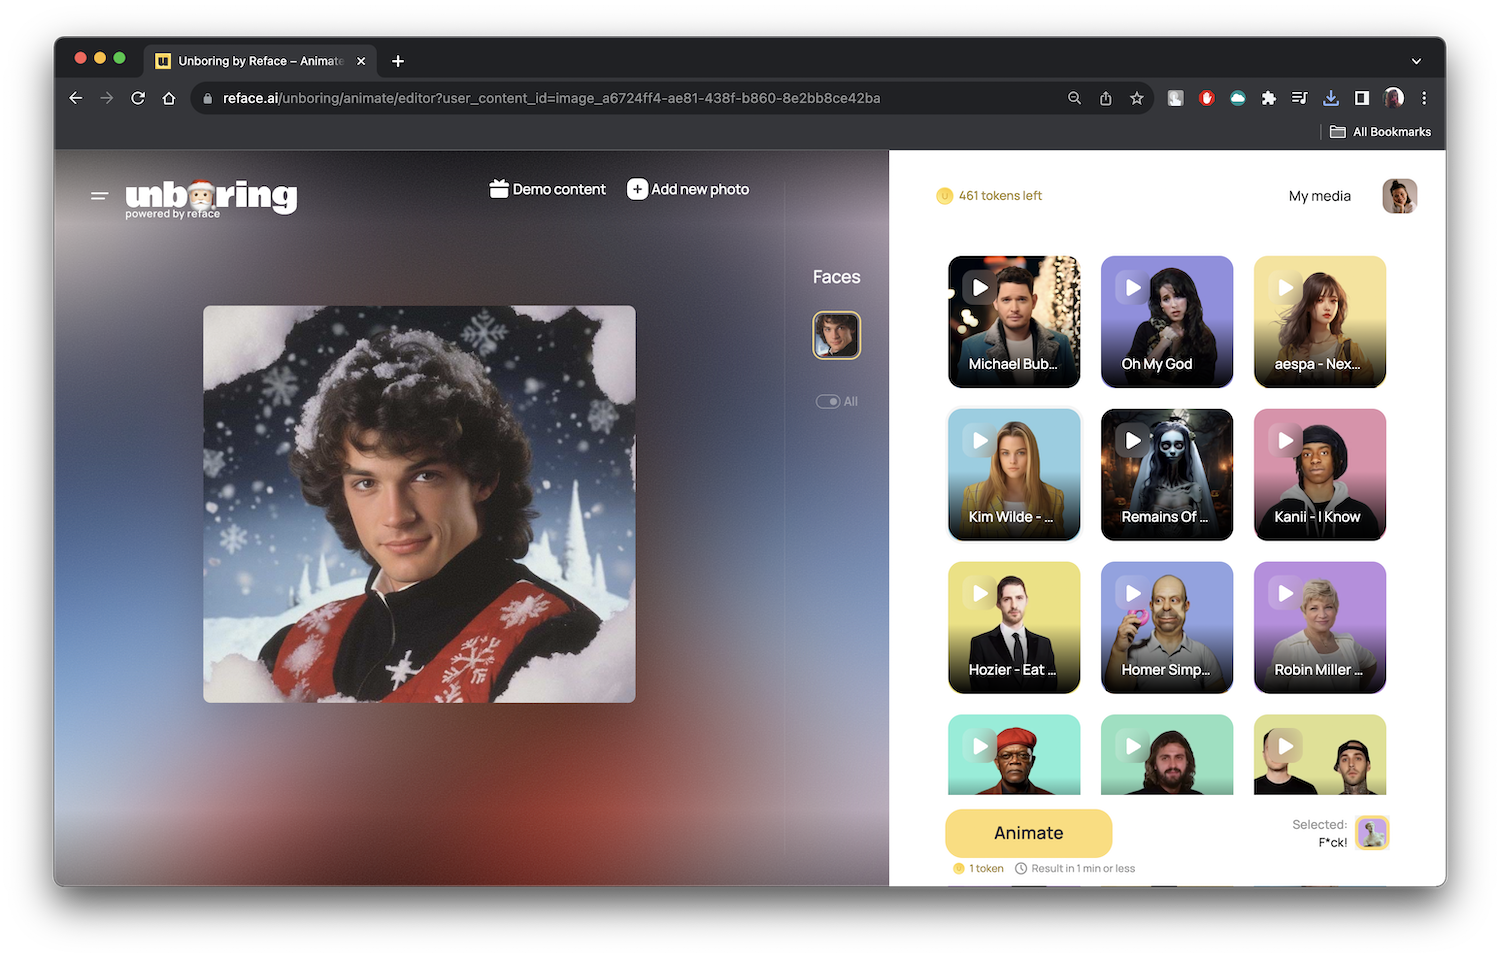
4. Let the AI work its magic:
This is the exciting part. Unboring's cutting-edge AI technology analyzes your photo, identifying key elements and generating realistic movements. Your photo starts to come alive with subtle animations, adding a touch of dynamism to capture the essence of the memory.
5. Share your masterpiece:
Once you're happy with your creation, share it with the world! Make sure to download and save it first, though, as Unboring only stores your media for 30 days!
Now that we’ve discussed the Unboring way for turning live photos into videos, let's dive into the second option: using your iPhone's built-in capabilities.

How to save a live photo as a video on iOS
If you want to know how to save a live photo as a video and you prefer a more straightforward approach, your iPhone offers a way to convert live photos to video within seconds. Here's how:
1. Open the Photos app:
Find your desired live photo within your iPhone's Photos app. Look for the small "Live Photo" badge in the top left corner.
2. Swipe up on the live photo:
With your finger, gently swipe upwards on the live photo to reveal a hidden menu.
3. Choose "Live" or "Loop":
This menu allows you to select how you want to view your live photo:
- Live: This keeps the live photo functionality as intended, allowing you to relive the moment when you press and hold down the image.
- Loop: This option transforms your live photo into a short looping video, continuously replaying the captured motion.
4. Save as video:
If you want to create a standalone video file, tap the "Share" icon in the bottom left corner. Scroll down and choose "Save as Video." This will save the live photo as a short video clip within your Photos app.
What to do with your live photos
Live photos offer more than just the ability to turn a live photo into a video. Here are some additional ways to play around with these dynamic images:
- Bounce Effect:
Bring on the boomerang vibes! This effect playfully bounces your live photo back and forth, creating a fun and energetic mini-video. Simply swipe up on your live photo, select "Bounce," and then hit the "Share" icon to send your bouncy creation with your friends. - Loop Effect:
As mentioned earlier, the Loop effect transforms your live photo into a continuous loop, endlessly replaying the captured moment. It's a great way to showcase a playful scene, like a child jumping on a trampoline or a pet chasing its tail. - Turn Live Photos into Stickers:
Liven up your iMessage conversations with animated live photo stickers. Open your live photo, swipe up, and select the square icon with a curled corner (located in the bottom left corner). This creates a sticker version of your live photo, ready to add some personality to your messages. - Edit Your Live Photos:
Don't underestimate the power of basic editing! You can crop, adjust brightness and contrast, and even add filters to your live photos using the built-in editing tools within the Photos app. This allows you to fine-tune your live photo before turning it into a video or simply enhance its visual appeal.
Ultimately, the method you choose depends on your desired outcome. If you simply want to convert a live photo into a basic video clip, your iPhone's native features are sufficient. However, if you want creative freedom and want to transform any photo into a dynamic video with a unique flair, Unboring by Reface is the way to go.
In conclusion, live photos capture a fleeting glimpse of reality, but with the help of Unboring by Reface and your iPhone's built-in features, you can transform them into engaging and shareable videos. So, become your inner content creator, pick your photos, and start breathing life into your memories!
Remember: Don't be afraid to get creative! With a little experimentation, you'll be a live photo-to-video pro in no time!